How to Create 3D Wall Art: A Step-by-Step DIY Guide | Rosemary Art Aesthetics
We at Rosemary Art know the true charm of handmade creations. Crafting your own 3D wall art does more than just decorate a lonely wall. It is a beautiful journey of self-expression.
If you want to try creating art at home or simply need inspiration to define your space, this guide breaks down the exact process of building 3D textured canvases.
1. Conceptualize and Sketch
Introspection is a crucial part of art. Before you touch the paint, let yourself visualize your theme.
With a theme chosen, your mind has direction. Grab a pencil and some paper to sketch your ideas. Think about where you want to place the 3D elements and how they will add physical depth to the piece. You do not need to worry about being perfect here—it is just a rough draft!
Never be afraid to experiment. Get as creative as you want.
2. Gather Your Materials
The right materials make the project much easier:
- Wood Panel: This adds natural warmth and texture to your artwork. Choose an unfinished wooden panel. Plywood is a great, budget-friendly option.
- Thick Cardboard: If you are a beginner and do not want to spend money on an expensive base, thick cardboard works well for lightweight 3D elements.
- Foamsheets & Paper Mache: Foamsheets can be cut into any shape to add playful dimensions. Paper mache (a mix of newspaper, white glue, and water) is an ancient yet highly reliable way to build 3D effects.
- Brushes and Tools: Choose a variety of brush sizes. You will also need a craft knife, sandpaper, a ruler, and varnish.

3. Prepare the Canvas
Now that you have everything ready, it is time to prep the base. A strong base goes a long way.
Remember, patience is key. Divide the canvas into a 3x3 grid and use the intersecting lines as your focal points. However, it is not necessary to follow strict rules. Sometimes, asymmetry becomes the most engaging part of 3D wall art. If you love natural, irregular compositions, you will find a wealth of inspiration in our Wabi Sabi Art collection.
4. Arrange and Paint the 3D Elements
This is where the magic happens.
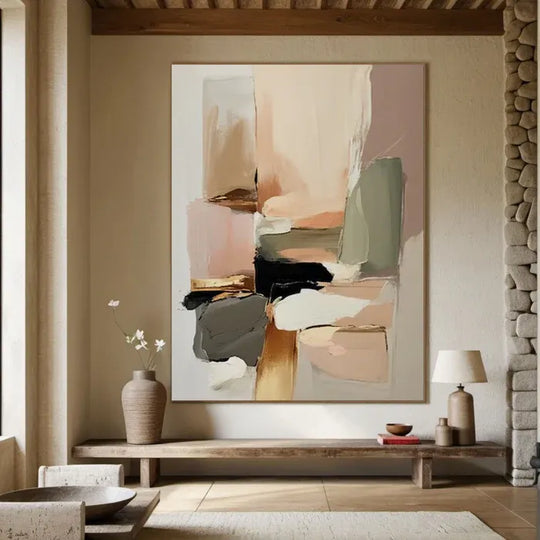
You can use earthy tones like brown, beige, and muted green to paint your textured plaster elements. Creating a blend of light and dark colors brings real depth to the artwork. Mixing these soft hues with rough textures allows you to create a beautiful, nature-inspired Landscape Painting.

5. The Finishing Touches
Since you have completed the major artwork, the finishing touches are critical.
Using a varnish spray keeps your art safe from dust and micro-scratches. This greatly enhances its longevity. Finally, placing warm lighting over or under the frame highlights the physical hills and valleys of the plaster, maximizing its visual appeal.
Once it is dry, you can take extra pride in showing your creations to your friends and family!
Conclusion
The process of learning how to create 3D art is highly rewarding. Selecting the right theme and using the right materials is everything.
If you love the breathtaking look of 3D textures but prefer a gallery-ready masterpiece, Rosemary Art has you covered. Our professional artists create 100% hand-painted, heavy-texture pieces. Browse our Abstract Art collection today to find the perfect, premium addition for your home!